Wednesday, April 9, 2014

Finials all cut...

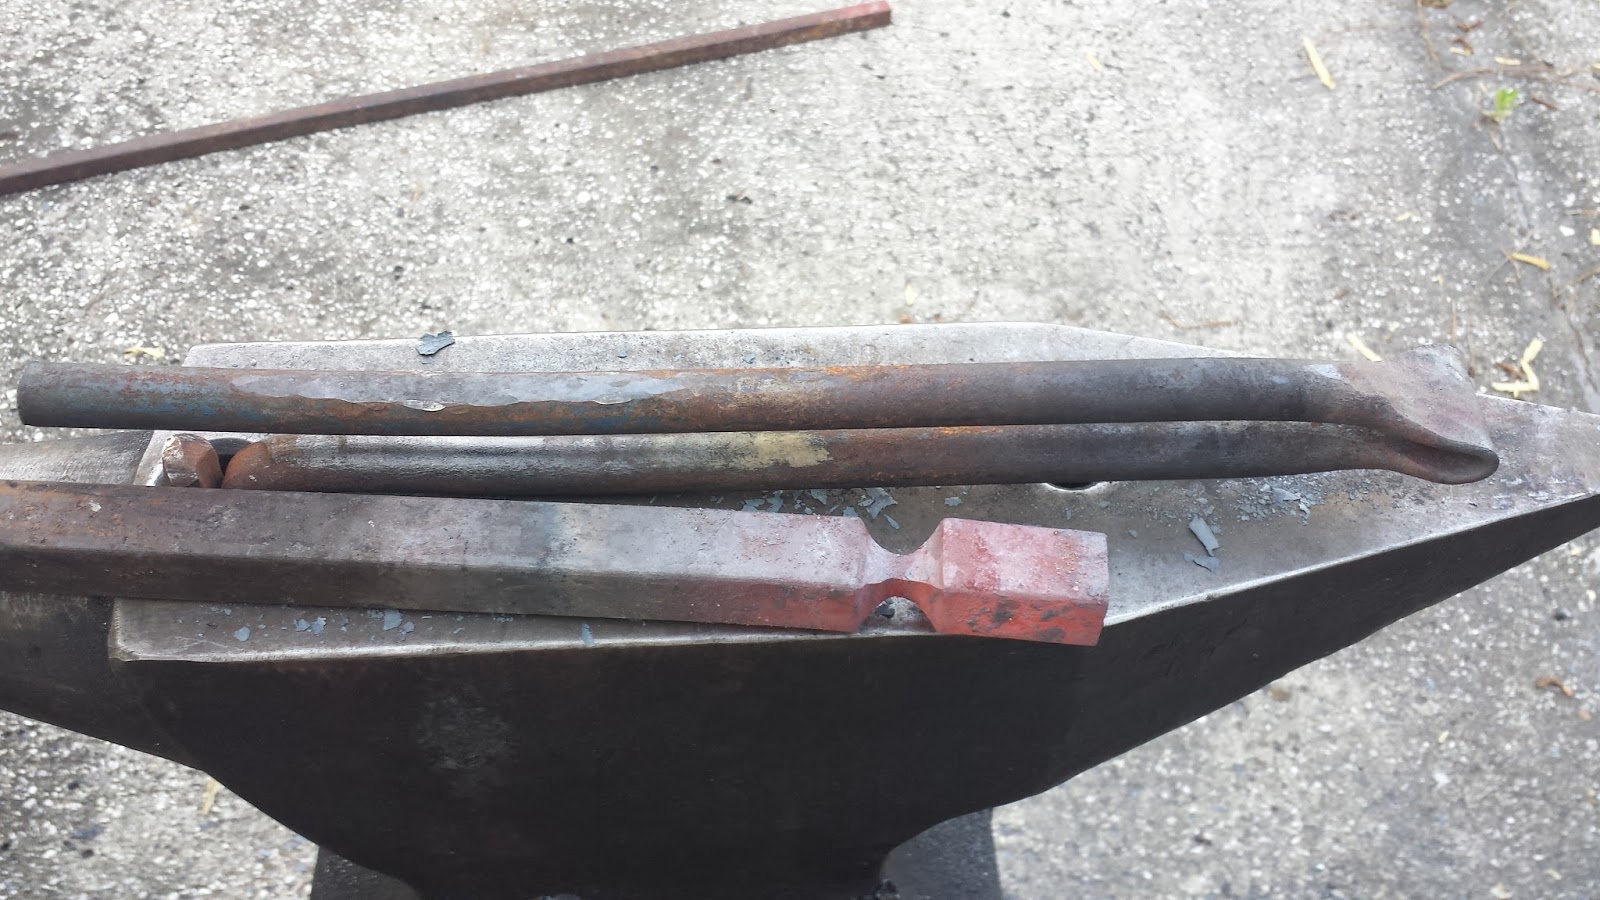
I managed to get a little bit of forge time after work today.  I pretty much just finished cutting the finials.  The photo shows all 4 as well as the bolster plate used for punching the holes.  The look a little rough right now.  From my previous experience they start looking nicer as I punch the hole and especially once I do the file work.

I also cut and formed a punch for use on the finials.  I have that annealing right now.  Since the punch was cut from an old car coil spring, I like to anneal it to help get any stress out of the metal.

Not that much otherwise but I am making progress.


Sunday, April 6, 2014

Good weekend

So today I started remaking the actual finials for the corner posts of the clock.  Yesterday I made the bolster plate but that really was not used today.  The importance of the bolster will come in to play a bit later.  But anyway, the start of today was very similar to yesterday's work up to a point.

I started with scoring a line around a bar of 2.5 cm (1 inch) bar stock.


Using different fullering tools, I put a curve shape around the bar.


In this photo, I have cut off one end of the bar.  I will actually get two finials out of this.


Using a hacksaw, I cut at the thinnest point, that frees one finial.


I then hot cut the remaining finial from the bar.  These are the two finials as well as the bolster plate that will help me make the hole in the finials.  As a reminder even though I am in the US, I will be attempting to make all comments and photos using metric to give it a more world wide relevance.  So in this photo, that is a metric carpenters square for scale.


That was it for tonight.  I was actually in the mood to make the other two finials but daylight was fading so those will have to wait.  After I make the other two, I will use a square punch and the bolster to create a mounting hole in the finial but that will also have to wait.

Saturday, April 5, 2014

Working on corner finials

Today I returned to the finials for the corner posts.  I tried to do this a bit last week but results were not good so I gave myself the week to think about how I was working.  I want this effort to be better than the first attempt so I am looking for better results and I think I have it.

First off, what I am working on is a finial design that sits on top of each corner post.  It is just a few centimeters across with a a curved taper tip.  This part is significant to me because when I made the first clock, it was a part that really made me feel like I was going down the correct path for learning to make the clock.  This is today's work...

I started by marking square stock that is about 1 inch or 2.54 centimeters square.  I drew a line around the stock and then lightly scored it with a hacksaw.  Note:  The end of the bar has kind of a mouth or split in it.  This is from a previous project and I am removing that end of the bar because it had some hammer work from that project.  That is why the starting point for this line is not closer to the end.


Next, I heated the piece and used a normal chisel to expand the line just a bit.


After that, I used a fullering tool to begin to make the indent curved.


And another fullering tool expanded the curved area even more.


The end piece is cut off leaving the shape of the finial.


A comparison of the piece today to one that is on my first attempt at the clock.


Finally today, I hammered this piece that I so carefully created into a block of hot steel.  The reason that I am doing this is that I want to create a mold or bolster for actually creating the finials.  I forgot to take a picture of the piece and I will do that tomorrow.  Rather than try to explain it any more, I will hold off that discussion until I can actually show the process.




Tuesday, March 25, 2014

Corners are punched with good results

 I was working from home today so once 5:00 hit, I went outside to see what I could get done and I'm happy I did.  Today I worked on punching the holes on the top of the posts.  These are the mortises for the frame construction.

This photo shows before I started with the holes marked out.  Notice that the area marked is smaller than what the hole will actually be.  This is just to help me start the punch.  Since the punch has a bit of a taper, it opens up the hole some.  After that, the I use a drift to open the hole further to its final size.


I was really happy with the results.  When I actually stack the posts, the holes line up perfectly.  I know that my first attempt at the clock was not this close to matching.  Part of the reason I decided to start from scratch was so I could go back and correct some of my previous faulty work.  I know nothing is perfect but since this is a mechanical contraption, I need to be as close as possible.

This photo shows the result of today's work.  It took about 90 minutes to mark and punch all 4 holes.  I will do a bit of cleanup with a file but nothing major.  Also, the lengths (at the top) are not perfectly matched.  That is because there will be some cutting work up there before I am done.

Sunday, March 23, 2014

Some progress

No pictures today but I did work on the corners for just a bit.  The bottom holes are all punched out.  I will try to get to the top holes some time this week.  So, getting things going again.  Hopefully I can keep it going.

Saturday, March 22, 2014

Back to work...

Wow...  It really has been 4 months since I've updated this.  With my mother's passing, things were disrupted and it took me longer than I expected to get back into the mood to do hobby stuff.

Anyone, today I actually worked on the clock.  When I last did work, I was working on the corner posts.  I had messed up on one of the pieces and had to remake it.  So today in addition to other work on the forge, I got to work on the clock for a bit.  I finished up some filing and straightening on the piece and it is caught up now with the other three pieces.

I am going to set a goal for myself that tomorrow I at the very least should get all of the holes punched on the posts.  If I can do that, I will feel like I've made real progress.

Here is a picture of the 4 pieces.  The one of the left is the one I worked on today.  Notice a bit of surface rust on the pieces.  It is there to remind me that I've been away too long.


Monday, January 13, 2014

No progress

Due to the passing of my mother, I have not gotten much done in the past month.  I hope to get back to this project within the next week.